
Meal Prep
No-Microwave Meal Prep Lunches That Taste Good Cold
A lunch that needs reheating is a poor fit for a workplace without a microwave. The answer is to choose meals that work cold from the beginning: beans, tender grains, wraps and crunchy vegetables, with a dressing that brings them together. Here is a practical way to build those lunches and keep them chilled until you eat.
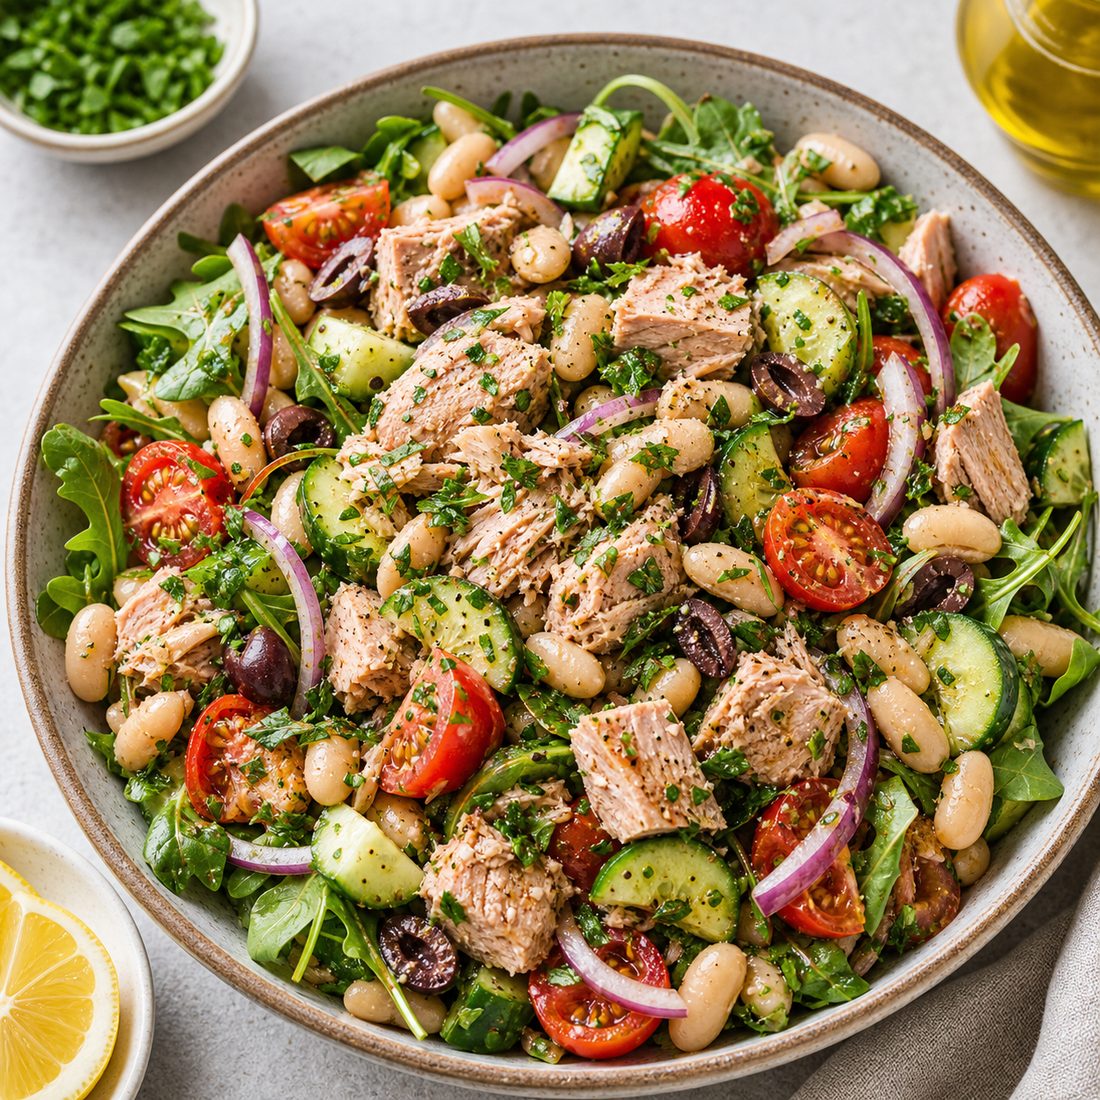
Tuscan Tuna & White Bean Salad from the Kenji recipe collection.
Choose the meal for the lunch break you actually have
Start with the facilities, not the recipe. Do you have a fridge when you arrive? Will you eat at a desk or outside? How long is the commute? Those answers determine whether you can bring a prepared salad, need an insulated bag, or should assemble lunch from shelf-stable ingredients at mealtime. A cold lunch still needs safe storage when it contains perishable ingredients.
Avoid choosing a meal whose main appeal disappears in the fridge. A crisp coating softens, a thick cheese sauce firms up, and plain roasted potato can feel dry. A bean salad dressed with lemon and olive oil is more forgiving. You can make hot-dinner leftovers into cold lunches, but choose deliberately rather than assuming every dish will translate.
Use four parts: protein, base, vegetables and dressing
Pick a protein you enjoy chilled: cooked beans, tofu, fully cooked chicken, canned fish or hard-boiled eggs. Add a base such as bread, couscous, quinoa or pasta. Include vegetables for texture, then a dressing or spread to connect the ingredients. Adjust the amounts to your appetite and goals; there is no single portion size that fits everyone.
For a starting point, try a drained can of beans split between two lunch portions, a cooked grain or wrap, and vegetables you already use elsewhere in the week. If you want more protein, add another protein ingredient rather than relying on a small spoonful of hummus to carry the whole meal. Use the recipe's serving information if you track nutrition.
| Lunch format | Good starting recipe | Pack separately |
|---|---|---|
| Bean and fish salad | Tuscan Tuna & White Bean Salad | Bread or crackers |
| Grain salad | Tuna & Quinoa Power Salad | Extra dressing and delicate leaves |
| Filled wrap | Greek Yogurt Tuna Wrap | Wet filling if assembling at lunch |
| Lentil salad | Herby Lentil Mezze Bowl | Tahini dressing and pita |
| Noodle salad | Cold Soba Noodle Salad | Any topping you want to keep crunchy |
Keep moisture where it belongs
Drain canned beans and fish thoroughly. Let cooked grains cool promptly before packing them. Wash and dry vegetables, then keep watery tomato or cucumber away from bread until you assemble the meal. A tiny dressing pot often does more for lunch than an elaborate container with six compartments.
For pasta or grain salads, a little dressing mixed into the base can prevent a dry mouthful; save the remainder to refresh it at lunchtime. Taste a small chilled portion before committing to a large batch. If it tastes flat, try a squeeze of lemon, herbs or a little more dressing. Add these gradually rather than compensating with a large amount of salt.
For wraps, pack the filling in one container and the tortilla separately when you can. If you need to roll it ahead, use a well-drained filling and a thin layer of spread rather than a loose sauce. This article focuses on cold lunch formats; our salad-prep guide goes further into leaves, layering and container moisture.
Cold lunch is a temperature plan, too
The USDA recommends an insulated lunch bag with at least two cold sources for perishable food. Chill the meal before packing it, place cold sources around it, and put it in a refrigerator when you arrive if one is available. An insulated bag slows warming; it does not make an already-warm meal cold. Follow the USDA guidance for packed lunches.
Keep cold food at 4°C / 40°F or below. Perishable food should not spend more than two hours unrefrigerated, or one hour when the temperature is above 32°C / 90°F. Count time on the commute and desk as well as time spent packing. If you cannot keep a prepared lunch cold, change the lunch rather than stretching that limit.
Bring ingredients labelled shelf-stable while unopened, such as a sealed fish or bean pouch, whole fruit, bread and crackers. Open and assemble only when ready to eat, follow the product label, and avoid carrying opened leftovers without refrigeration. Shelf-stable before opening does not mean shelf-stable after opening.
Prep two lunches, then repeat
Begin with two portions rather than five identical boxes. On Sunday, make Monday and Tuesday's bean salad and keep its bread separate. On Wednesday, make two wraps or a noodle salad for the next pair of lunches. This lets you correct the portions and textures after trying the first batch.
Follow the storage instructions for the recipe and ingredients you choose. Many cooked leftovers have a refrigerator window of three to four days under USDA guidance, but that is not a promise for every prepared salad or opened product. Rice needs particular care: see the rice storage guide before using it as a cold-lunch base.
Keep a short note after lunch: too dry, too small, leaked dressing, or still hungry. Change the one part that failed. Once the format works, rotating a protein or dressing gives you more choice without rebuilding your routine each week.
Sources and further reading
USDA: Keeping Bag Lunches Safe supports the transport advice. USDA: Leftovers and Food Safety covers chilling, storage and reheating. The meal combinations and two-lunch routine above are practical planning suggestions.
Put your next meals in a plan
Explore Kenji's recipe collection and build a meal plan around your goals, budget and schedule.
Get Kenji Meals