
Creamy Garlic Chicken
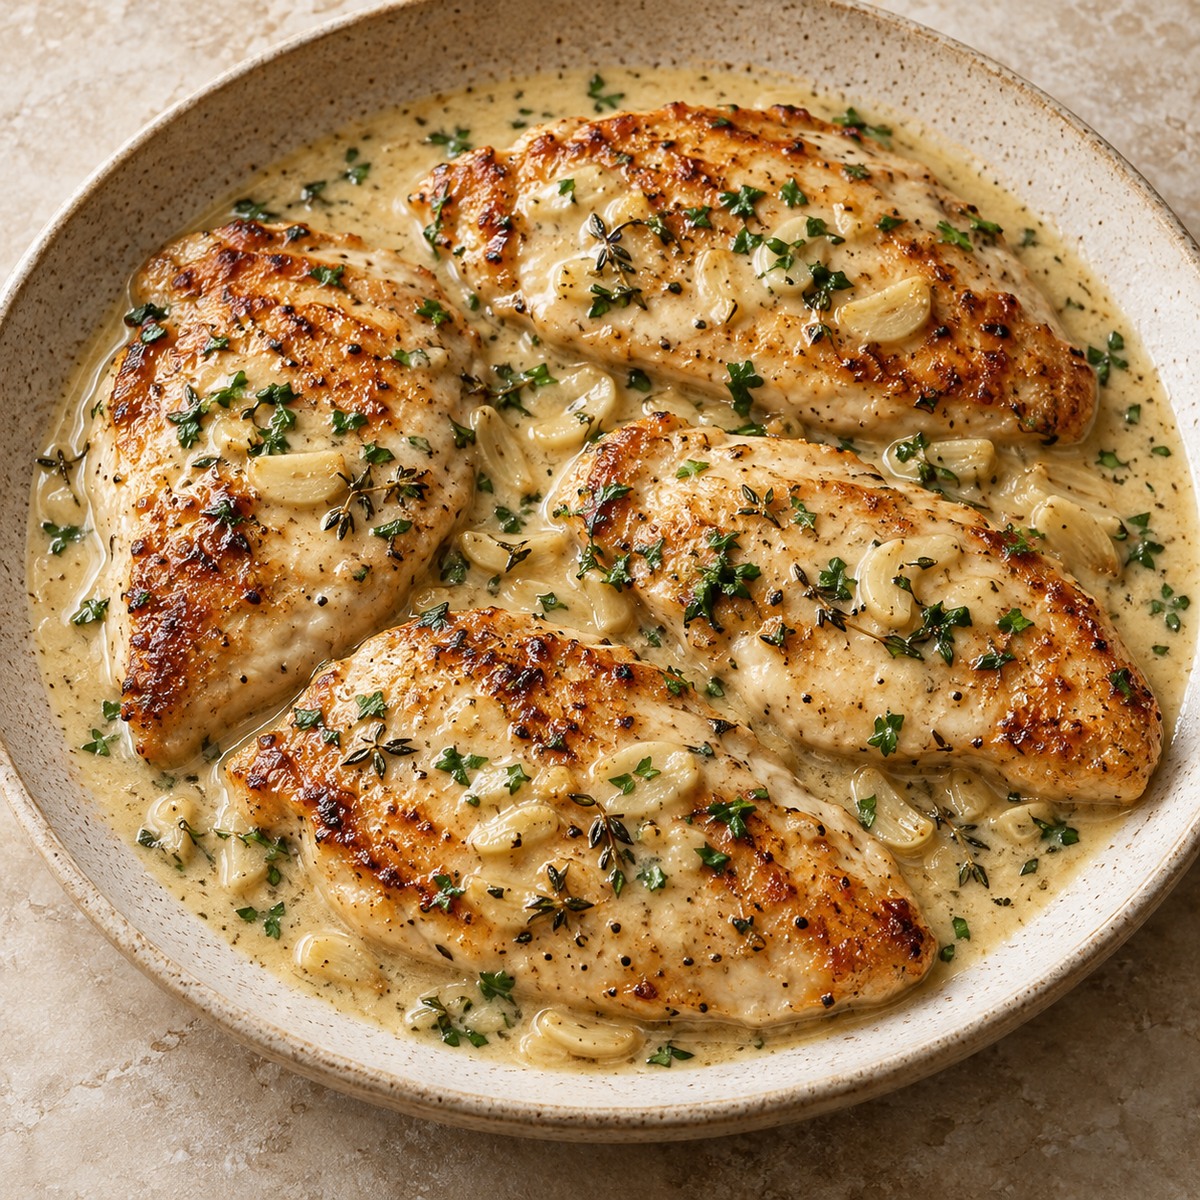
See the illustrated walkthrough ↓Golden chicken breast cutlets in a creamy garlic, thyme and mustard sauce made with milk. A skillet dinner with a gentle sauce and clear tips for avoiding burnt garlic or lumps.
The recipe
Creamy Garlic Chicken
Golden chicken breast cutlets in a creamy garlic, thyme and mustard sauce made with milk. A skillet dinner with a gentle sauce and clear tips for avoiding burnt garlic or lumps.
Ingredients
- 600g boneless skinless chicken breast, sliced horizontally into thin cutlets
- 30g garlic, peeled and thinly sliced (about 8 cloves)
- 300ml semi-skimmed milk (about 2% fat)
- 200ml low-salt chicken stock
- 15g plain flour (about 2 tbsp)
- 15g butter
- 10g olive oil (about 2 tsp)
- 10g Dijon mustard (about 2 tsp)
- 1g dried thyme (about 1 tsp)
- 10g flat-leaf parsley, chopped
- 2g salt (about 1/3 tsp), divided, or less if stock is salty
- 0.5g ground black pepper (about 1/4 tsp)
Instructions
- Make the four cutlets an even 1.5–2cm thick, gently flattening thicker areas between sheets of baking paper if needed. Pat dry and season both sides with half the salt and the pepper. Keep raw-chicken utensils separate from serving utensils.
- Heat the oil in a large skillet over medium-high heat until shimmering, without letting it smoke. Add the chicken in a single layer with space between pieces; use two batches if necessary. Cook for about 3–4 minutes on the first side until golden and it releases readily, then turn and reduce to medium.
- Continue cooking for roughly 3–5 minutes, adjusting the heat if the pan darkens too quickly. Check the centre of each cutlet from the side with a thermometer; all must reach 74°C / 165°F before transferring to a clean plate. Thicker pieces take longer. Do not rely on these timings or colour alone.
- Turn the heat to medium-low. If the pan has black burnt residue, wipe it out carefully before making the sauce. Add the butter and sliced garlic and cook for 1–2 minutes, stirring, until softened and fragrant but not dark brown.
- Sprinkle the flour into the butter and stir for 1 minute. Add the stock in several small additions, stirring until smooth each time and scraping up golden pan juices. Gradually stir in the milk, then the mustard and thyme.
- Bring to a very gentle simmer and stir for 4–6 minutes until the sauce lightly coats a spoon and the garlic is tender. Keep the heat low enough to avoid a hard boil. If too thick, add water 1 tbsp at a time; if too thin, simmer a little longer while stirring.
- Return the fully cooked chicken and its juices to the skillet. Spoon sauce over it and warm gently for 1–2 minutes. Stir in the parsley and taste before adding the remaining salt. Serve the chicken and sauce with your choice of vegetables, potatoes or rice; sides are not included in the nutrition estimate.
Storage and reheating
Refrigerate chicken and sauce together in shallow covered containers within 2 hours, or 1 hour above 32°C / 90°F. Keep the fridge at 4°C / 40°F or below and use within 3–4 days. Reheat a portion gently in a covered pan with a little water, stirring the sauce and turning the chicken until its centre reaches 74°C / 165°F. Milk sauces can separate after freezing; refrigerating is the better texture option. If frozen, thaw in the fridge, whisk the sauce gently as it warms and check the chicken temperature. Do not leave cooked chicken on the counter to thaw.
Substitutions and ingredient notes
Use lactose-free semi-skimmed milk for a similar sauce; butter still contains dairy. For gluten avoidance, use labelled gluten-free stock and mustard, omit the flour and stir in a slurry of 8g cornflour with 15ml cold water after the milk, simmering until thickened. These swaps change nutrition. Boneless thighs need their own cooking time and the same 74°C / 165°F endpoint. Dijon contains mustard; the original sauce contains wheat and milk. This is a garlic skillet sauce, separate from our peri rice bowls, mushroom crepes and honey-soy stir-fry.
Estimated nutrition
297 kcal · 38g protein · 9.9g carbohydrate · 11.1g fat · 0.5g fibre per serving.
Calculated from measured ingredients and generic composition data. Brand choices and substitutions change the estimate. Recipes have not been independently kitchen-tested.
Storage references: USDA leftover guidance · FSA food guidance
How to make it, step by step
The key is to treat searing the chicken and building the milk sauce as two separate jobs. Brown the cutlets first, lower the heat for the garlic, then add liquid gradually to keep the sauce smooth.
These AI-generated illustrations explain the stages; they are not photographs of a cooking test. This recipe has not been independently kitchen-tested. The walkthrough follows the original recipe quantities; use the recipe card for adjusted servings.
Before you start
- Even thickness matters. Make the cutlets an even 1.5–2cm thick and pat them dry. A thinner edge cooks faster than a thick centre; flatten thicker areas gently between baking paper.
- Leave room in the skillet. Use two batches if the chicken will not fit with space between pieces. Crowding traps moisture and makes browning harder.
- Turn the heat down before garlic. Garlic needs much gentler heat than the chicken sear. Golden pan juices add flavour; black burnt residue should be wiped out carefully before making the sauce.
1. Sear and cook the cutlets
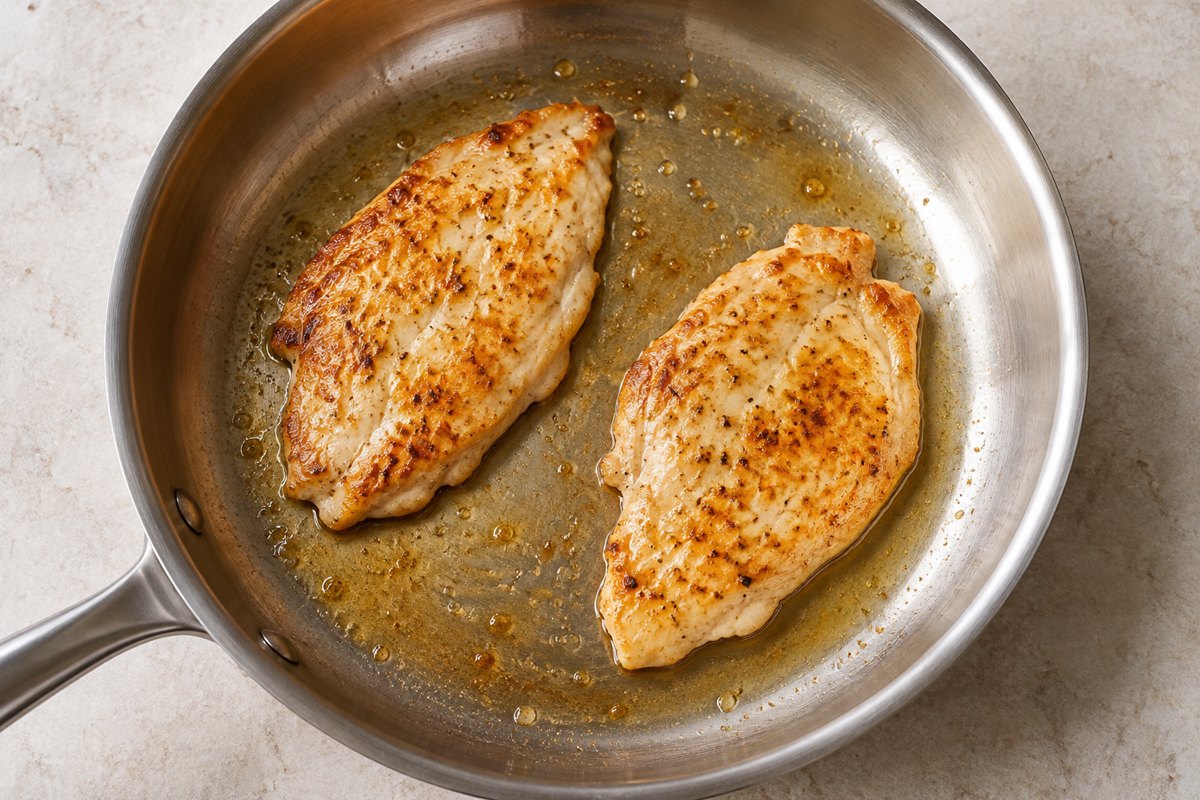
Season the evenly thick cutlets as directed in the card. Heat the oil over medium-high heat until shimmering, without smoke. Place the chicken in a single layer and leave it to develop a golden surface, about 3–4 minutes on the first side. Turn when it releases readily and reduce the heat to medium. Continue cooking, checking each cutlet from the side into its centre with a thermometer. Every cutlet must reach 74°C / 165°F before moving to a clean plate; browning alone does not prove doneness.
2. Build a smooth garlic sauce
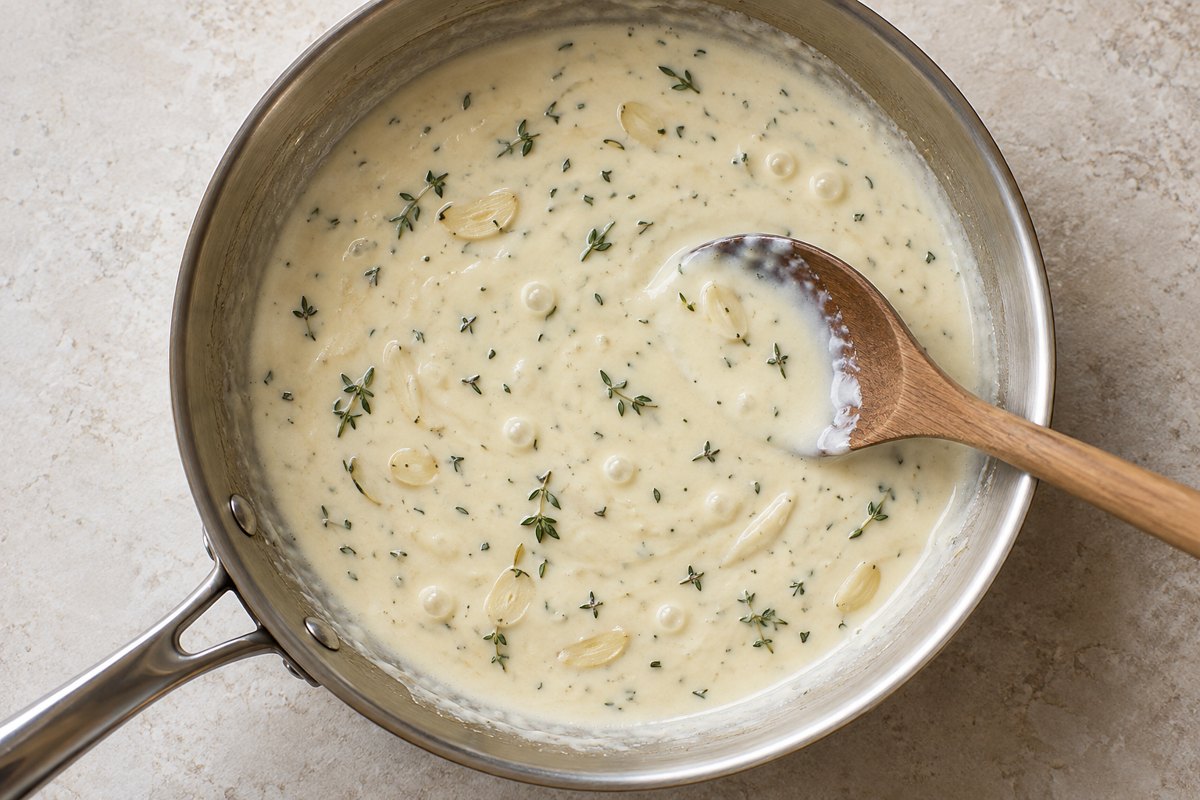
Reduce to medium-low heat and remove black residue if present. Melt the butter, add the sliced garlic and stir for 1–2 minutes until fragrant and softened, without dark browning. Stir in the flour for 1 minute. Add the stock in small additions, smoothing the mixture each time before adding more. Gradually stir in the milk, mustard and thyme. Simmer very gently for 4–6 minutes, stirring, until the sauce lightly coats a spoon and the garlic is tender.
3. Bring everything together
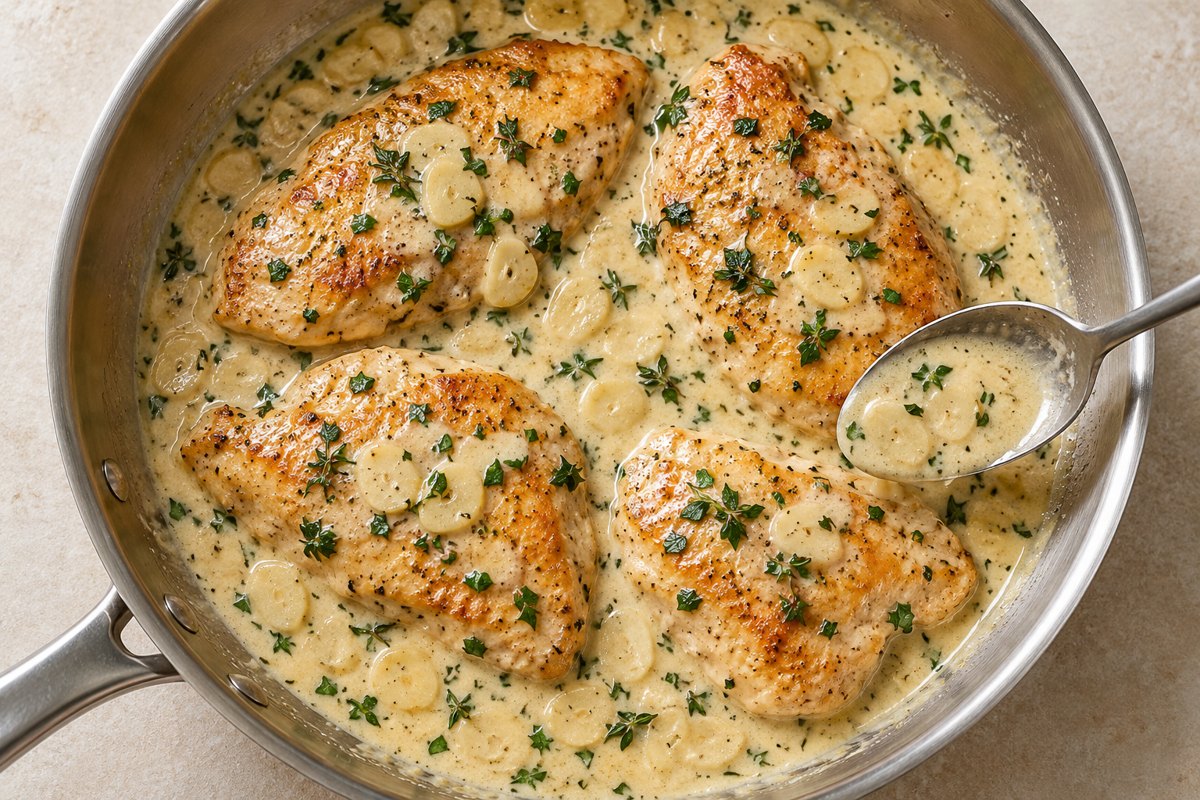
Return the fully cooked chicken and its collected juices to the skillet. Spoon the sauce over the cutlets and warm gently for 1–2 minutes. Add the parsley, taste and only then decide whether the remaining salt is needed. The sauce should flow around the chicken rather than stand in a stiff layer. Choose vegetables, potatoes or rice as a side; these are additional to the recipe’s nutrition estimate.
Common problems and what to change
Sauce is too thick: Stir in water 1 tablespoon at a time over gentle heat until it flows and lightly coats a spoon.
Sauce is too thin: Simmer gently a little longer while stirring. Avoid a hard boil; the milk sauce does not need aggressive heat.
Flour forms lumps: Pause the liquid additions and stir or whisk until smooth. For stubborn lumps, remove the chicken and pass the sauce through a fine sieve before returning it to the pan.
Garlic burns: Dark, bitter garlic cannot be fixed by adding milk. Discard the burnt garlic and sauce base and start the sauce again in a clean pan.
Food safety: use a thermometer to confirm chicken reaches 74°C / 165°F. FoodSafety.gov temperature guidance.
Recipe images may be AI-generated illustrations. Nutrition figures are estimates. Kenji recipes have not been independently kitchen-tested.