
Chicken Cooking Guides
How to Batch Cook Chicken 5 Different Ways
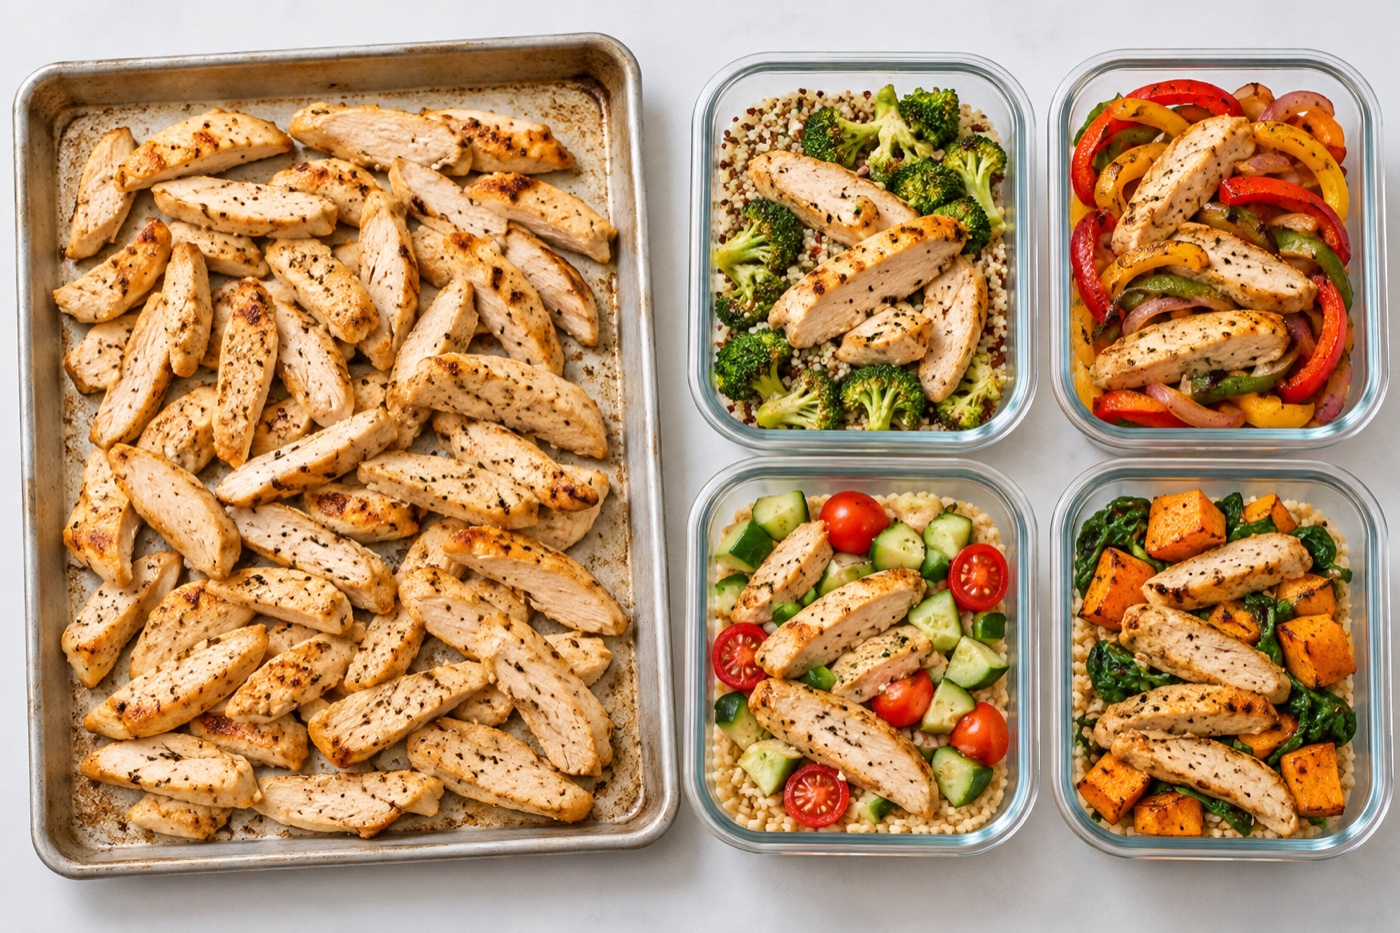
AI-generated editorial illustration.
Start with the meals you want to eat, then choose how to cook the chicken. A browned cutlet, gently poached breast and shredded thigh do different jobs. This guide compares five methods and turns one cooking session into useful portions, with a cooling and storage plan before the food leaves the pan.
Use a food thermometer in the thickest part of each piece, avoiding bone. Timings below are estimates, not a test of doneness. Official poultry temperature guidance.
Plan portions before switching on the oven
A practical example is 1.2kg raw boneless chicken divided into eight portions of 150g raw each. Cooked weight will be lower and varies with the cut and method. Divide the finished batch into eight portions rather than labelling each cooked portion “150g”. Choose breast for neat slices and thighs for a more forgiving shredded texture. Do not assume a recipe’s raw and cooked weights mean the same thing.
Write down which portions will be eaten within 3–4 days and which need freezing. A single Sunday batch should not sit in the fridge until Friday. Also plan rice, vegetables, sauces and containers: the chicken is only one part of lunch. If another ingredient needs shorter storage, follow that shorter limit for the combined meal.
Pick the method that suits the meal
| Method | Useful texture | Good next step |
|---|---|---|
| Oven / sheet pan | Firm slices, browned edges | Lemon herb chicken traybake |
| Gentle poaching | Moist shreds, little browning | Chicken noodle soup |
| Slow cooker | Soft shredded meat | Slow pulled BBQ chicken |
| Air fryer | Browned small batches | Chicken thighs and potatoes |
| Skillet | Golden cutlets and pan juices | Creamy garlic chicken |
1. Oven-baked chicken for a larger batch
Heat the oven to 200°C / 400°F conventional or about 180°C fan. Make boneless pieces similar in thickness, pat dry, then lightly coat with oil and a seasoning blend. Arrange in a single layer without overlap. Two loosely filled trays cook more evenly than one tightly packed tray. Keep raw chicken separate from ready-to-eat foods during preparation.
Boneless breasts often need around 20–30 minutes, with thinner cutlets ready sooner; thighs, bone-in pieces and crowded ovens differ. Start temperature checks early and continue until each piece reaches 74°C / 165°F. Rotate trays if your oven heats unevenly. Rest briefly before slicing, then portion promptly. For a fully specified dinner, use the lemon herb traybake quantities and its own cooking instructions.
2. Gentle poaching for soup and cold lunches
Place similarly sized boneless breasts in a saucepan with enough stock or water to cover. Add onion or herbs if you want a neutral savoury base. Bring the liquid to a gentle simmer and keep it there rather than boiling vigorously. Begin checking after roughly 15 minutes, allowing longer for thick pieces. Every piece must reach 74°C / 165°F before it comes out.
Shred or slice on a clean board. Reserve some cooking liquid for moisture, but cool it promptly in shallow containers too. The chicken noodle soup recipe builds this method into a vegetable broth and keeps noodles separate for storage. For a cold meal, use the cooked-chicken quantity in crunchy chopped chicken salad; store crisp vegetables and dressing separately until assembly.
3. Slow cooking for shredded chicken
Use thawed chicken and follow the appliance’s instructions and a recipe designed for its capacity. Add the stated liquid; do not fill above the maker’s maximum. Keep the lid on during cooking. Boneless thighs usually hold up better than breasts over a longer cook. Avoid putting frozen chicken straight into a slow cooker. USDA slow-cooker guidance.
Recipe and appliance timing varies widely. Check the chicken reaches 74°C / 165°F, then shred with clean utensils and mix with enough cooking sauce to keep it moist. The slow pulled BBQ chicken recipe supplies a sauce and method to follow. Do not use the slow cooker to reheat chilled leftovers; use a pan, oven or microwave to reach the reheating temperature promptly.
4. Air frying when the batch is small
An air fryer is convenient for a few portions, but stacking chicken defeats the circulating heat. Follow your model’s preheating instructions, arrange similar-sized pieces in one layer and cook in batches when necessary. A starting setting around 190°C / 375°F can suit boneless thighs; follow the chosen recipe and start checking early. Air fryer sizes and heat output vary, so a universal minute count is unreliable.
Turn pieces if the recipe calls for it and check each centre reaches 74°C / 165°F. For a complete example, use air fryer chicken thighs and potatoes, including its guidance on cooking the potatoes and chicken. Do not increase a batch by crowding the basket and simply adding a few minutes.
5. Pan cooking for browning and sauce
For breasts, slice into even cutlets about 1.5–2cm thick, dry the surface and leave gaps in the skillet. Sear in a little oil over medium-high heat, turn when browned, then reduce the heat to finish the centres. Check every piece reaches 74°C / 165°F. Our pan-cooked chicken breast guide explains the timings, temperature checks and fixes for sticking or a dark crust with a cool centre.
Keep fresh garlic and milk sauces away from the hottest searing stage. The creamy garlic chicken recipe cooks the meat fully, lowers the heat and builds its sauce afterwards. Batch in two rounds if the pan cannot hold all the pieces with space between them. A second round adds active cooking time, which matters when planning dinner.
Cool, label and store the whole batch
Have shallow containers ready before cooking finishes. Portion promptly and refrigerate within 2 hours, or within 1 hour if the room is above 32°C / 90°F. Do not leave a large pot or tray on the counter until completely cold. Keep the fridge at 4°C / 40°F or below, and use refrigerated leftovers within 3–4 days. Label containers with the cooking date and contents. USDA storage guidance.
Freeze the portions intended for later, once promptly cooled in the fridge, rather than waiting until the end of their refrigerated life. Aim to use them within 2–3 months for quality and thaw in the fridge. Keep crunchy salad parts and soup noodles separate so safe storage also preserves texture. Read the freezing guide for packing advice.
Reheat a portion, not the whole week
Add a splash of water, stock or sauce, cover and heat until the centre reaches 74°C / 165°F. Stir or turn as needed so cold spots do not remain. For a microwave, follow the appliance’s standing-time guidance and check several places. Use the reheating guide for texture tips. USDA reheating guidance.
A useful week might pair oven chicken with vegetables, poached chicken with soup, and a skillet dish for dinner rather than repeating plain slices daily. Browse the Chicken Recipes collection and choose meals with different sauces and textures. Follow each recipe’s ingredients and method; this guide is a planning tool, not a substitute for those instructions.
Cooking times are estimates. This guidance and the linked Kenji recipe formulations have not been independently kitchen-tested.