
Chicken Cooking Guides
How to Cook Chicken Breast in a Pan
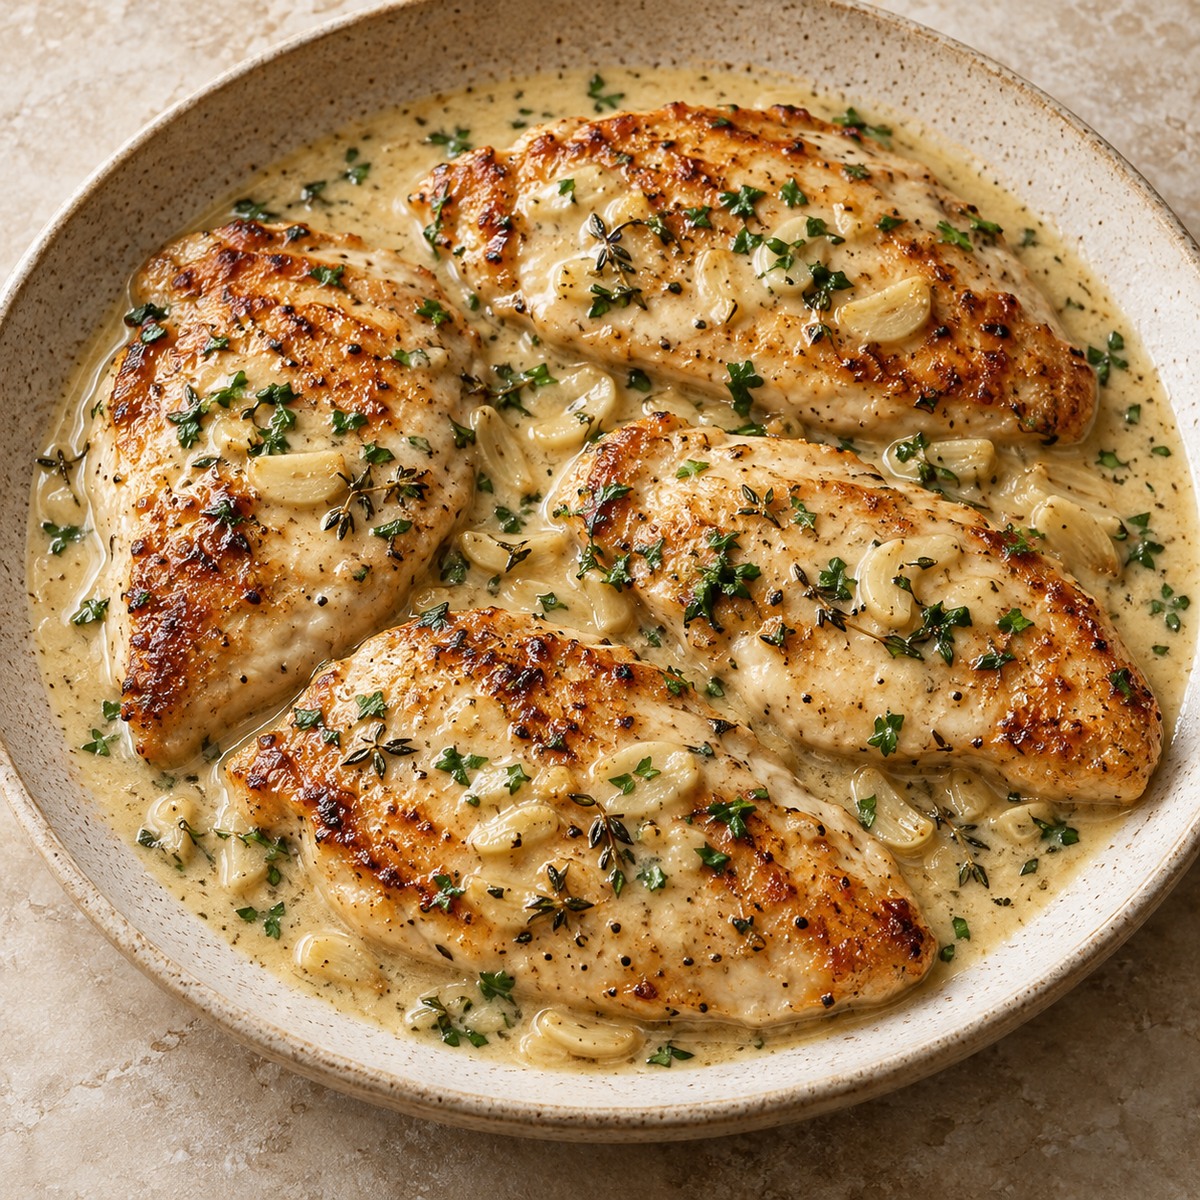
AI-generated illustration from our creamy garlic chicken recipe; the plain pan method below uses no sauce.
Good pan-cooked chicken starts before it touches the skillet: make the thickness even, dry the surface and leave enough space to brown. Then use a thermometer to decide when it is ready. This guide explains the technique for plain boneless breast, so you can use it in wraps, salads or a sauced dinner.
Check the thickest part with a food thermometer. Browning, clear juices and a timer cannot establish that chicken is safely cooked. Official poultry temperature guidance.
A practical starting batch
For four portions, start with 600g boneless skinless chicken breast, 10g olive oil, about 2g salt and 0.5g black pepper. Salt to taste, especially if a sauce will be added later. Two large breasts can be sliced horizontally into four cutlets. Aim for an even thickness of about 1.5–2cm. Four portions is a planning example; appetite and the rest of the meal determine serving size.
Use a wide skillet, tongs, a clean plate and an instant-read thermometer. Stainless steel develops a useful browned layer for a sauce; a nonstick pan is easier for beginners but should be heated according to its manufacturer’s instructions. A small pan may fit only two cutlets comfortably. Allow extra time for a second batch rather than stacking the pieces.
Keep chicken refrigerated until preparation and thaw frozen chicken in the fridge. Do not wash raw chicken: splashes can spread contamination around the sink. Wash hands and clean the board and utensils after handling it. Use a clean plate for the cooked meat, never the plate that held it raw. USDA raw-poultry handling guidance.
The pan method, step by step
- Even out the thickness. Slice horizontally on a stable board, keeping your free hand clear of the blade. Alternatively, flatten thicker sections gently between baking paper. The thin end should not have to wait for a very thick centre to cook.
- Dry and season. Pat the surface dry with disposable kitchen paper and discard it. Add salt and pepper. Save fresh minced garlic, sugary glazes and butter for later: they can burn before the meat is ready.
- Heat the skillet. Add the oil over medium-high heat until it shimmers, without smoking. Lay the cutlets down away from you. They should sizzle steadily; lower the heat if oil smokes or the surface quickly turns black.
- Let the first side brown. Give it roughly 3–4 minutes before checking underneath. Avoid moving it repeatedly. In stainless steel, a developing crust usually releases more easily than a still-wet surface. Gently lift an edge instead of tearing the meat free.
- Turn and finish over medium heat. The second side may take about 3–5 minutes for a 1.5–2cm cutlet, but these are starting ranges. Pan material, burner power and meat temperature all change the timing. If browning runs ahead of the centre, reduce the heat; a small splash of water and a lid can help finish the centre gently. Beware of hot steam.
- Check each piece. Insert the thermometer sideways into the thickest part so its sensor sits in the centre, without touching the pan. Every piece must reach 74°C / 165°F. Clean the probe between checks, following its instructions. Return any cooler piece to the pan and check again.
- Rest, then slice. Move cooked chicken to a clean plate and rest for about 5 minutes for easier slicing. Resting is a texture step; it does not replace reaching the safe temperature first. Slice across the grain and keep any juices for the dish.
For a cream-style sauce, follow our measured creamy garlic chicken recipe. It softens the garlic at lower heat after the chicken is fully cooked. For several meals at once, the batch-cooking chicken guide compares this method with oven cooking, poaching, air frying and slow cooking.
What went wrong—and what to change
| Problem | Likely cause | Useful adjustment |
|---|---|---|
| Pale chicken and liquid in the pan | Wet surface, overcrowding or insufficient heat | Dry the next batch, leave space and let the pan recover its heat. Finish the current chicken safely even if the crust is imperfect. |
| Dark outside, cool centre | Excess heat or uneven thickness | Lower the heat and finish gently; use thinner, even cutlets next time. Check the centre rather than adding a fixed extra minute. |
| Dry, firm slices | Cooking well past the required temperature | Start checking earlier. Serve this batch with sauce or in soup; further frying will not make it juicy. |
| Meat sticks and tears | Moved before a crust forms or too little oil | Wait briefly, ease up an edge and keep the oil film even. Do not scrape aggressively with tools that damage the pan. |
| Bitter garlic or sauce | Garlic or pan residue burned | Remove black residue and start the sauce with fresh garlic over lower heat. Golden pan juices are useful; black bits are not. |
Cook once, use the chicken well
For meal prep, keep slices reasonably thick and store any cooking juices with them. Divide cooked chicken into shallow containers and refrigerate promptly, within 2 hours or within 1 hour above 32°C / 90°F. Keep the fridge at 4°C / 40°F or below. Use refrigerated leftovers within 3–4 days; freeze the portions planned for later in the week. Do not wait for a large batch to reach room temperature. USDA leftover handling guidance.
Reheat only the portion needed, covered with a splash of water or sauce, until the chicken reaches 74°C / 165°F throughout. It can also be eaten cold after safe cooking, cooling and refrigerated storage. Our reheating guide explains how to avoid drying out leftovers. USDA reheating guidance.
Choose the next meal
Use plain cooked breast in crunchy chopped chicken salad, or add it near the end using the cooked-chicken adaptation in chicken noodle soup. Those adaptations should use their stated cooked quantities, rather than assuming raw and cooked weights are interchangeable. If you want a complete sauced skillet dish, start with creamy garlic chicken instead.
Explore the Chicken Recipes collection for more dishes. Their ingredient lists and cooking methods differ: a stir-fry’s small pieces, for example, should follow its own recipe rather than the cutlet timing above.
Technique guidance is not a report of independent kitchen testing. Cooking times are estimates; the thermometer endpoint governs doneness.